STM32 HAL UART Example: Step-by-Step Guide | ControllersTech
Many beginners face errors when working with STM32 HAL UART. Data often fails to appear on the serial monitor, or the board keeps resetting because of wrong setup. This is usually due to mismatched baud rates, missing initialization, or incorrect pin mapping.
In this step-by-step guide, we will build a working STM32 HAL UART example. You will learn how to configure UART in STM32CubeIDE, write simple transmit and receive code, test it on hardware, and expand to interrupts and DMA. By the end, you will be able to use UART confidently for debugging and real projects.
What is STM32 HAL UART?
HAL (Hardware Abstraction Layer) is a library provided by STMicroelectronics that simplifies peripheral usage. Instead of writing low-level register code, HAL offers ready-to-use APIs.
For UART communication, HAL provides functions like:
-
HAL_UART_Init()→ Initializes UART. -
HAL_UART_Transmit()→ Sends data. -
HAL_UART_Receive()→ Receives data (blocking). -
HAL_UART_Transmit_IT()/HAL_UART_Receive_IT()→ Interrupt-based communication. -
HAL_UART_Transmit_DMA()/HAL_UART_Receive_DMA()→ DMA-based communication.
This makes UART programming in STM32 much easier for beginners.
STM32 UART Pinout Example
For STM32F103C8 (Blue Pill):
-
USART1: TX = PA9, RX = PA10
-
USART2: TX = PA2, RX = PA3
-
USART3: TX = PB10, RX = PB11
For STM32F4 series (Discovery/Nucleo):
-
USART2: TX = PA2, RX = PA3 (commonly used for debugging)
⚠️ Always check your chip’s datasheet or CubeIDE Pinout view.
STM32 HAL UART Setup in CubeIDE
Step 1: Create New Project
-
Open STM32CubeIDE.
-
Start a new STM32 project.
-
Select your MCU (e.g., STM32F103C8T6) or board.
Step 2: Enable UART Peripheral
-
In Pinout & Configuration, select USART2 (or another available UART).
-
Assign TX and RX pins automatically.
Step 3: Configure Parameters
-
Baud rate: 115200
-
Word length: 8 bits
-
Stop bits: 1
-
Parity: None
-
Mode: TX/RX
-
Hardware Flow Control: None
Step 4: Generate Code
-
Click Generate Code.
-
CubeIDE will create HAL initialization functions.
STM32 HAL UART Example 1: Transmit Data
Explanation:
-
Uses USART2 (PA2 = TX, PA3 = RX).
-
Sends message every second.
-
Output visible in serial monitor (115200 baud).
STM32 HAL UART Example 2: Receive and Echo
Explanation:
-
Waits for one character.
-
Echoes the same character back.
-
Useful for testing UART loopback.
STM32 HAL UART Example 3: Interrupt Mode
Polling wastes CPU time. Instead, use interrupts.
Explanation:
-
UART works in background.
-
Callback is called on data reception.
-
CPU remains free for other tasks.
STM32 HAL UART Example 4: DMA Mode
For high-speed communication, DMA is best.
Explanation:
-
DMA moves data without CPU load.
-
Best for continuous or large transfers.
Testing STM32 HAL UART
-
Connect STM32 board to PC.
-
Open serial terminal (PuTTY, TeraTerm, Arduino Serial Monitor).
-
Set baud rate = 115200, no parity, 1 stop bit.
-
Upload code and reset STM32 board.
-
You should see messages or echoed data.
Common UART Errors
-
No output → Wrong TX/RX pins selected.
-
Garbled text → Baud rate mismatch.
-
Nothing on terminal → Wrong COM port or missing USB driver.
-
STM32 resets → Incorrect HAL function usage or stack overflow.
Applications of STM32 HAL UART
-
Debugging embedded code.
-
Communicating with PC for logging.
-
Sending AT commands to GSM/GPS/Wi-Fi modules.
-
Interfacing two STM32 boards.
-
Remote sensor monitoring.
Pros and Cons of STM32 HAL UART
Pros
-
Easy-to-use HAL APIs.
-
Supports blocking, interrupt, and DMA modes.
-
Works across all STM32 series.
Cons
-
Blocking mode is CPU heavy.
-
Interrupts require callback handling.
-
DMA setup slightly advanced for beginners.
FAQ on STM32 HAL UART
What is HAL in STM32?
It is a Hardware Abstraction Layer library that simplifies peripheral programming.
Which UART is default in STM32 boards?
Many boards (like Nucleo) use USART2 for debugging.
Can STM32 HAL UART work with Arduino Serial Monitor?
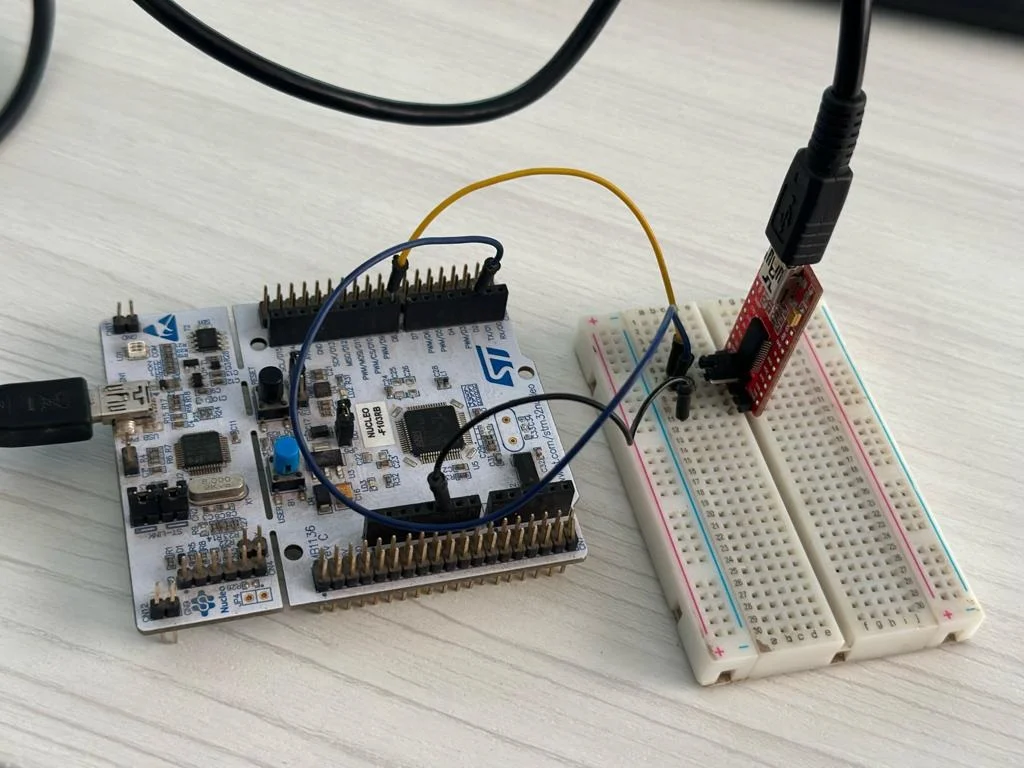
Yes, connect TX, RX, and GND to the PC via USB or USB-TTL adapter.
How many UARTs are available in STM32?
Depends on the chip. STM32F1 has 3, STM32F4 has up to 6.
What baud rates are supported?
Common values are 9600 and 115200, but STM32 supports up to several Mbps.
Can I use multiple UARTs at once?
Yes, each peripheral works independently.
What is better: UART polling or interrupt?
Interrupt is better as it saves CPU time.
Is DMA required for UART?
Not required, but useful for high-speed or large data transfers.
Can I debug STM32 using UART?
Yes, many developers print debug logs through UART.
Does STM32CubeIDE support UART HAL APIs by default?
Yes, CubeIDE auto-generates initialization code.
Conclusion
In this guide, we created a STM32 HAL UART example using STM32CubeIDE. We covered setup, transmit code, receive code, and advanced methods like interrupt and DMA. With these techniques, you can now use UART in STM32 for debugging, communication, or connecting external modules.
If you want more step-by-step guides and advanced STM32 projects, check ControllersTech for detailed tutorials.