How to Use UART in ESP32 – Step by Step Tutorial
Many beginners try to use UART in ESP32 but face problems such as wrong baud rate, pin confusion, or code errors. These mistakes often waste hours without working output. The good news is that setting up UART in ESP32 can be simple if explained step by step. In this tutorial, we will go through wiring, UART basics, and example codes using both Arduino IDE and ESP-IDF UART examples, so you can communicate with sensors, modules, or even another ESP32 board easily.
What is UART in ESP32?
UART stands for Universal Asynchronous Receiver and Transmitter. It is a serial communication protocol used to send and receive data. The ESP32 comes with three hardware UART controllers:
-
UART0 – Used by default for programming and debugging.
-
UART1 – Free for user communication.
-
UART2 – Free for user communication.
Why Use UART in ESP32?
-
Easy connection with GPS, GSM, and Bluetooth modules.
-
Debugging with serial output.
-
Reliable peer-to-peer communication between ESP32 boards.
-
Logging sensor data to PC for analysis.
ESP32 UART Pin Mapping
Default pin assignment:
-
UART0: TX0 (GPIO1), RX0 (GPIO3)
-
UART1: TX1 (GPIO10), RX1 (GPIO9)
-
UART2: TX2 (GPIO17), RX2 (GPIO16)
But ESP32 allows pin remapping, meaning TX and RX can be reassigned to other GPIO pins. This makes it flexible for different hardware setups.
Step by Step: How to Use UART in ESP32
Step 1: Hardware Requirements
-
ESP32 development board
-
USB cable for programming
-
Jumper wires
-
Optional: another UART device (Arduino, GPS, GSM module, USB-to-TTL adapter)
Step 2: Software Setup
-
Install Arduino IDE or ESP-IDF
-
Install required drivers (CH340/CP210x) for your ESP32 board
-
Open a serial monitor (Arduino Serial Monitor, PuTTY, or similar)
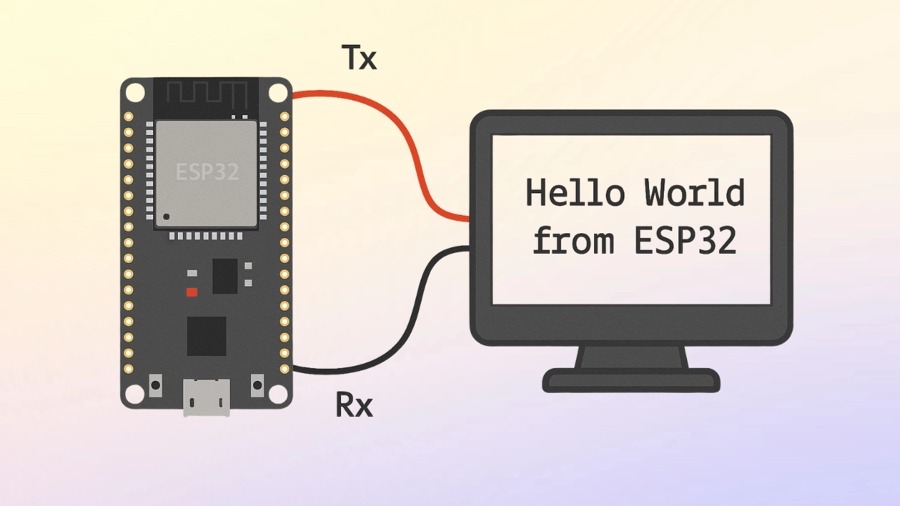
ESP32 UART Example in Arduino IDE
Arduino IDE makes UART very simple.
-
Serialis UART0 (used for USB communication). -
Serial1is UART1 mapped to GPIO16 (RX) and GPIO17 (TX).
This code listens on UART1 and prints received data to your PC.
ESP32 UART Example in ESP-IDF
For advanced users, ESP-IDF gives full control of UART.
This sends data every second over UART1 (TX: GPIO17, RX: GPIO16).
Common UART ESP32 Problems
-
Wrong Baud Rate: Must match on both sender and receiver.
-
Cross Wiring: Connect TX of one device to RX of another.
-
Pin Mapping: Always check if pins are correctly set.
-
Driver Issues: Install the right USB driver for ESP32.
Practical Uses of UART in ESP32
-
Connect ESP32 to GPS and parse NMEA strings.
-
Send AT commands to GSM modules like SIM800L.
-
Debugging complex applications with Serial Monitor.
-
Communicate between two ESP32 boards.
-
Connect PC for data logging.
Pros and Cons of Using UART in ESP32
Pros
-
Reliable and simple communication.
-
Flexible pin mapping.
-
Works with most external modules.
Cons
-
UART0 is reserved for programming.
-
Needs level shifter when using 5V devices.
FAQ on UART in ESP32
What is UART in ESP32?
It is a hardware module that allows serial communication.
How many UARTs are in ESP32?
ESP32 has three hardware UARTs.
Which UART is used for programming ESP32?
UART0 is used for programming and debugging.
Can I remap UART pins?
Yes, you can assign TX and RX pins to almost any GPIO.
What baud rates are supported in ESP32 UART?
It supports up to 5 Mbps, but common rates are 9600 and 115200.
Can I use UART in Arduino IDE?
Yes, use Serial, Serial1, and Serial2 in Arduino IDE.
Why is my ESP32 UART not working?
Check wiring, baud rate, and pin mapping.
Can ESP32 UART work with GPS modules?
Yes, most GPS modules output serial data.
Does ESP-IDF support UART with DMA?
Yes, DMA mode is supported in ESP-IDF.
Will ESP32 UART work with GSM modules?
Yes, you can send AT commands to GSM modules.
Conclusion
Using UART in ESP32 is straightforward once you know the right steps. With proper wiring, baud rate, and tested examples, you can send and receive data between ESP32 and other devices without issues. Start with Arduino IDE for quick results, then move to ESP-IDF UART examples for advanced projects.
If you are ready to go further, check more ESP32 tutorials on ControllersTech and start building real-world projects today.